How to Install Jupyter Notebook in Windows 10
Being Pythonists it is very important to work with the best text editor/notebook so that the visibility of codes and various other diagrams is clear and understood by the people. The Python programming language contains an inbuilt text editor called IDLE and is highly preferred by developers because it provides numerous features for the users to play with starting from model creation to deployment. There are many other text editors as well that provide high-end features to Python developers to carry out their tasks like Atom, Sublime, Notepad++, Spyder, Visual Studio, etc.
From so many text editors present for this programming language the most preferred one for the Data Science community is Jupyter. This is a special kind of Python notebook that comes with an extension of .ipynb that stands for I Python Notebook. The Python work that we usually do with normal editors gets saved with the extension of .py but with this notebook, in hand, the extension is changed because this notebook provides high-end command terminal where scientific computing can be performed with much ease. This I Python notebook can integrate with many of the existing web libraries for data visualization.
Now, as we know that Python is easily downloadable either through the official website or through Anaconda installation the question arises that is Jupyter downloadable in the normal installation of Python, or do we need Anaconda to run Jupyter??
Also, as we know that Python is independent of the operating system we are working with so how to download the same in Windows 10? The answers to these questions are given below along with the working steps i.e. how to download Jupyter using plain Python:
Installing Jupyter on Windows 10 or 7
Please follow the following steps to install Jupyter NoteBook on Windows 10 or 7 but without having Anaconda setup.
Download Python
The first and foremost thing to download is Python from the official website that is python.org (Downloads section). Here you will find various versions of executable files for Windows, Mac, and Linux. Just click on the version you want to work with for Windows and processor 64 bit or 32 bit and start the installation.
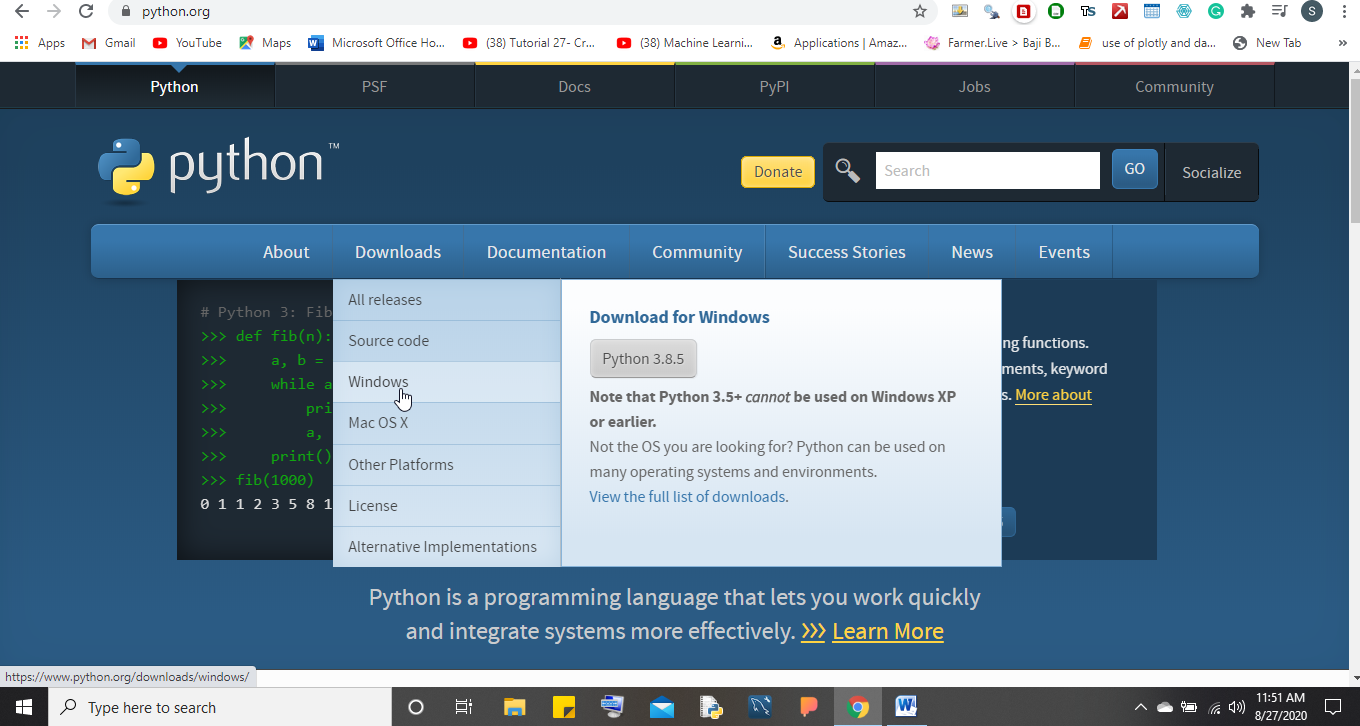
Install Python 3.8.x 64-bit
Once the installation is finished click on the .exe file and it starts the setup for installation. The first page that opens in setup is the Install Python page where it will ask you to install python, customize your installation, install launchers for all users, and add Python to the path. Just make sure that you check the option of add Python to the path and then click on customize the installation and check all the options getting displayed. Once you are finished with this just click on install now option and wait for Python to get installed into your system.

Open Command Prompt and run Python
Now after the installation finishes, to make sure that everything is properly installed just go to your command prompt and type python. If it is throwing no error and showing "Python 3.7.6 (tags/v3.7.6:43364a7ae0, Dec 19, 2019, 00:42:30) [MSC v.1916 64 bit (AMD64)] on win32 Type "help", "copyright", "credits" or "license" for more information" then congratulations you have successfully downloaded Python to your system and are ready to proceed to the next step that is, installing Jupyter.
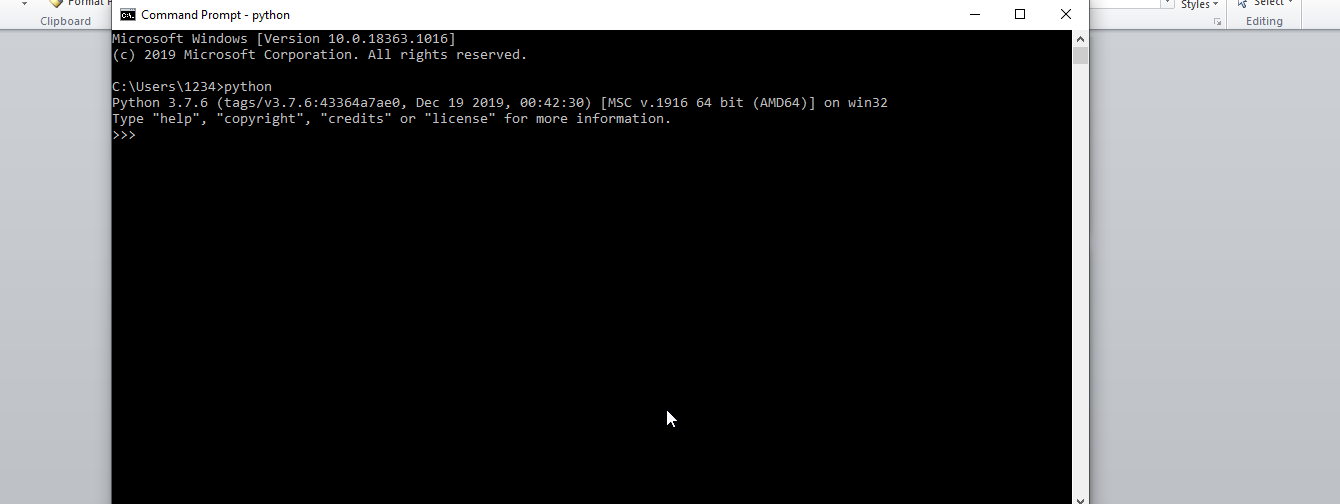
Check PIP Installed on Windows 10 or not
Again go to command prompt and then make sure that pip is installed with Python and to check that type pip in the command prompt. If it throws no error then there is pip installed in your system. But don't after Python setup it will be there.
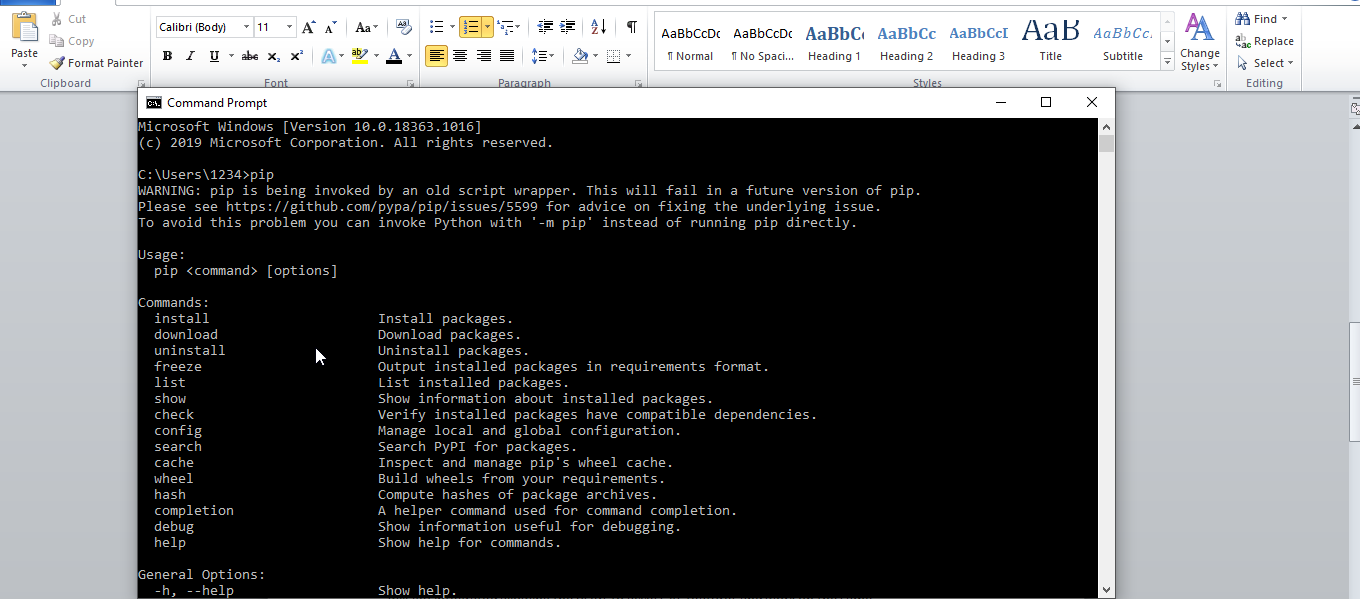
Install Jupyter Notebook on Windows 10/7 using PIP
Once you have made sure that everything is fine just type pip install jupyter and wait for the installation to finish. If everything goes right then Jupyter will get installed within the Python environment and to make sure that it is properly installed just type jupyter notebook in the command prompt. This will take you to the local host of your system where the Jupyter notebook will get integrated allowing the users to access its features and work on the same.
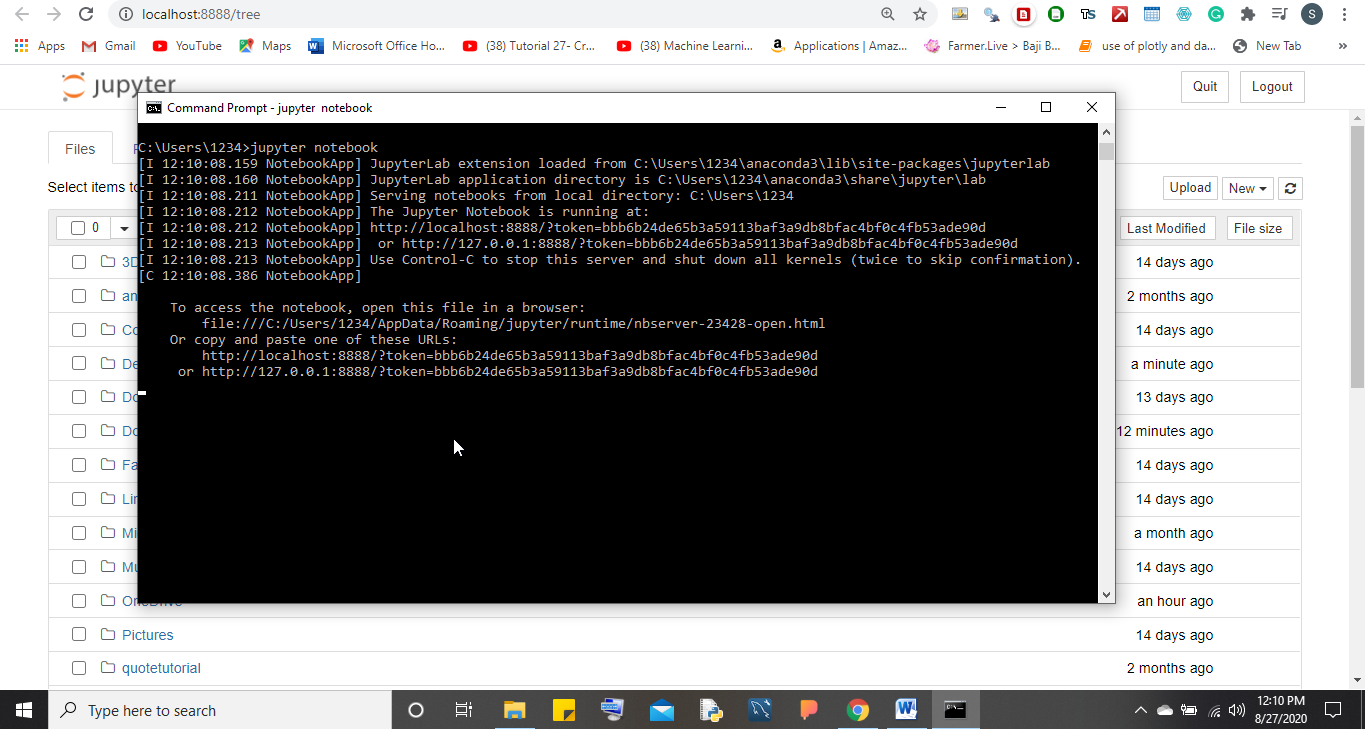
Start using Jupyter I Python notebook
Within the jupyter environment just click on New and start working with your very first I Python notebook. There is also a provision to upload existing notebooks within the environment and people can access this feature as and when required.
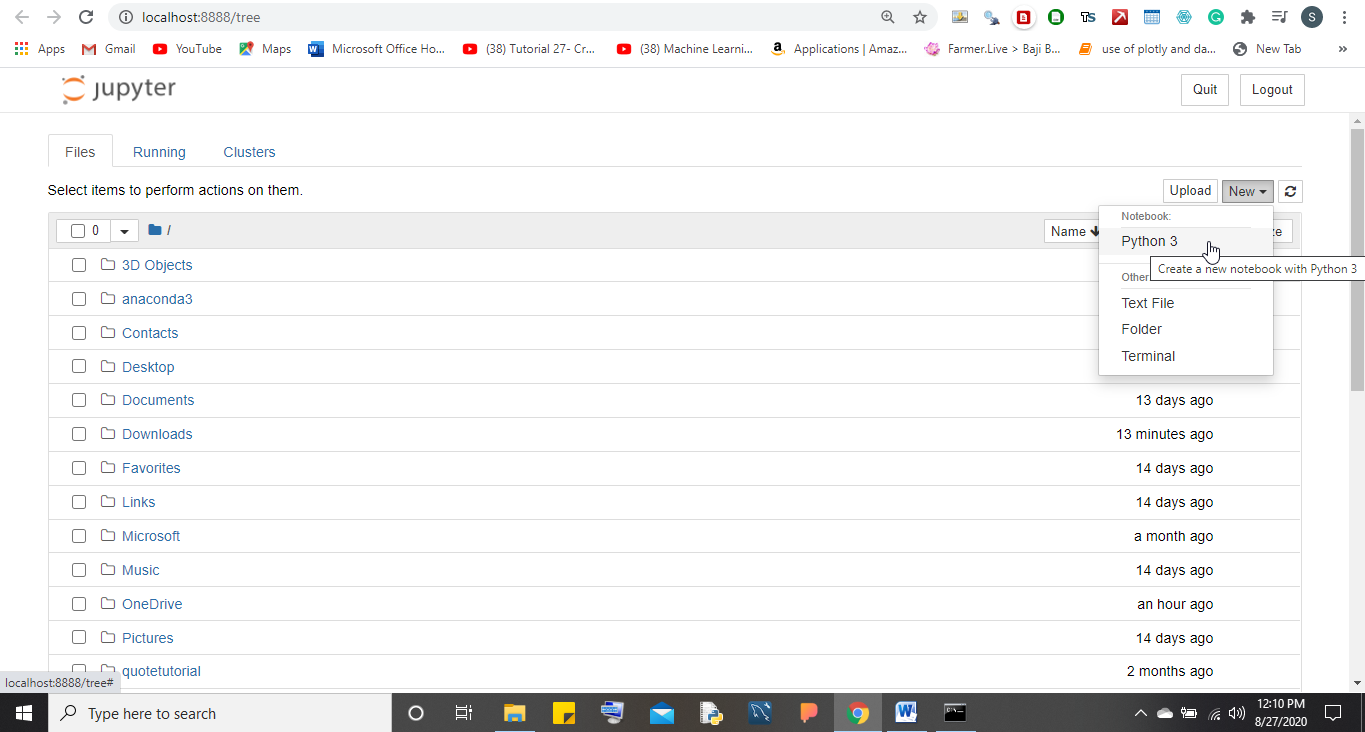
So this is how we can install Jupyter in your system (Windows 10) without downloading Anaconda.
How to Install Jupyter Notebook in Windows 10
Source: https://www.how2shout.com/how-to/install-jupyter-notebooks-windows-10-without-anaconda.html